How to Set Up a Homemade Sprinkler Irrigation System for Beginners
The Benefits of a Homemade Sprinkler System
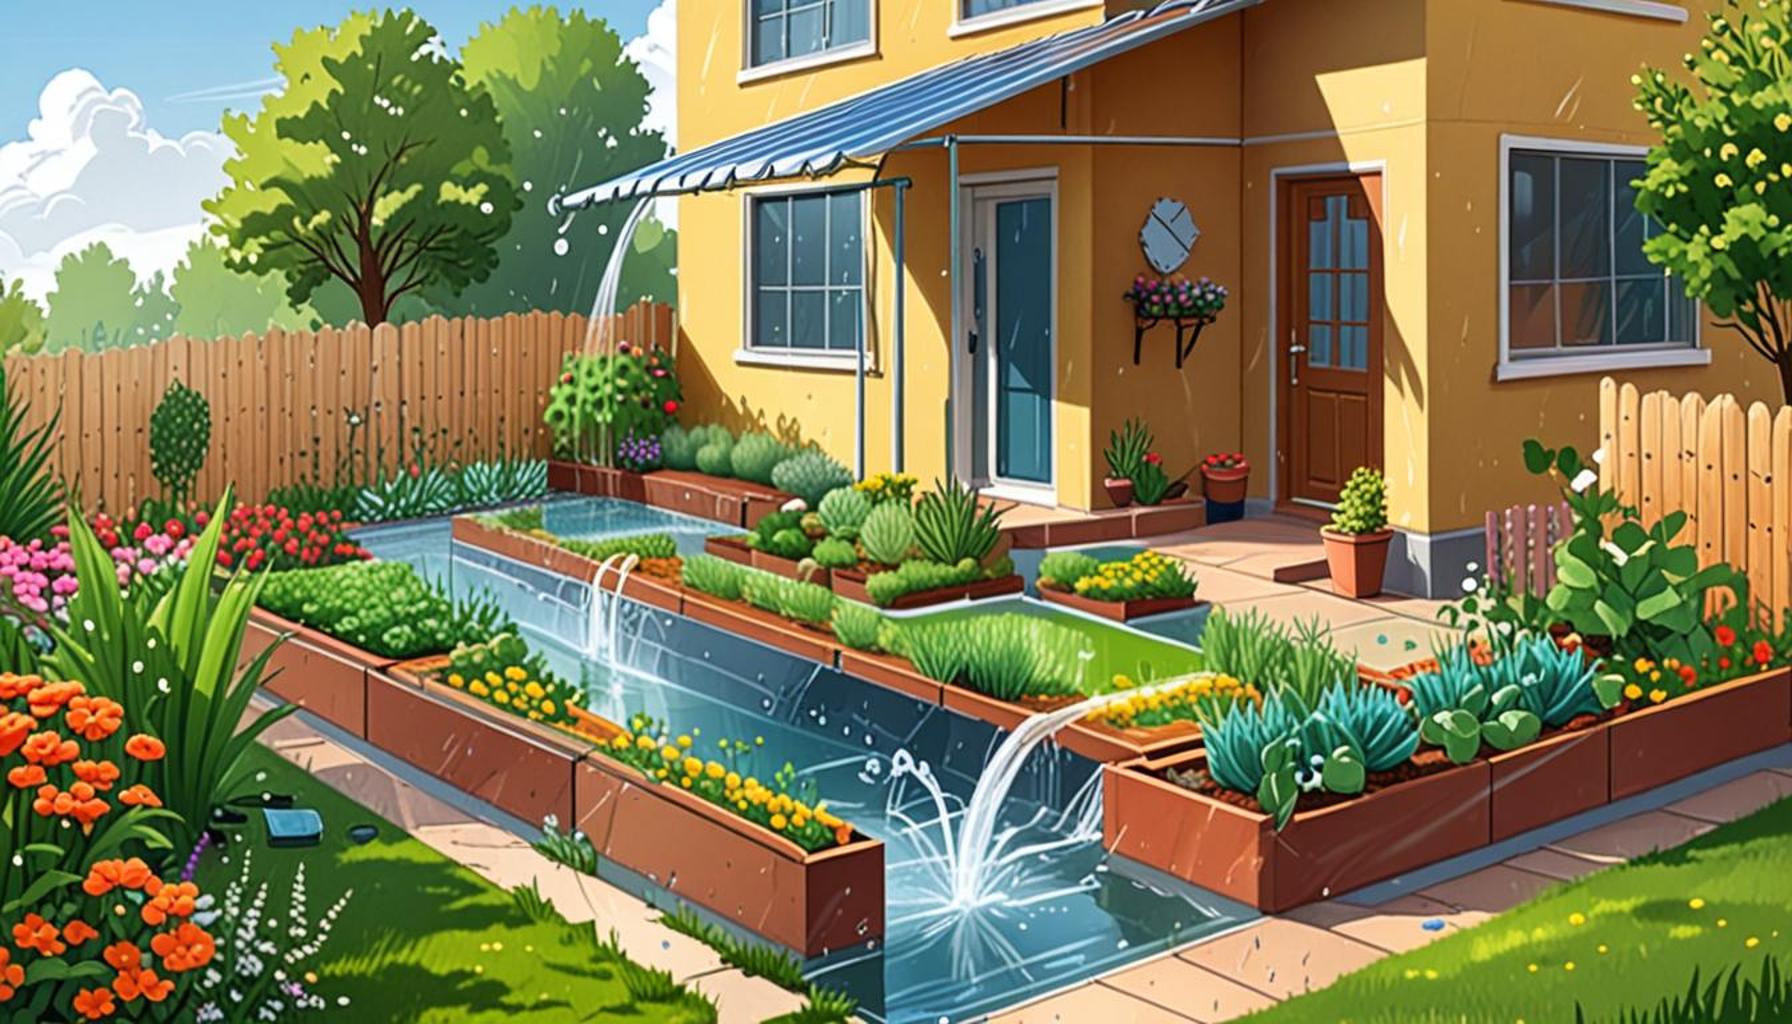
Transforming your garden into a thriving oasis can be exciting yet daunting. The idea of setting up a sprinkler irrigation system might conjure images of complicated machinery and hefty price tags. However, it can be both straightforward and budget-friendly. Crafting a homemade sprinkler irrigation system allows you to take charge of your gardening needs while significantly enhancing your landscape’s aesthetic appeal.
One of the primary incentives for considering this project is its cost-effectiveness. Traditional sprinkler systems can be expensive, with installation costs averaging between $2,000 to $6,000 for more elaborate setups. In contrast, a DIY system can often be assembled for under $100. By using materials like PVC pipes, hose connectors, and sprinkler heads, you can create an efficient watering system that keeps your plants healthy without breaking the bank.
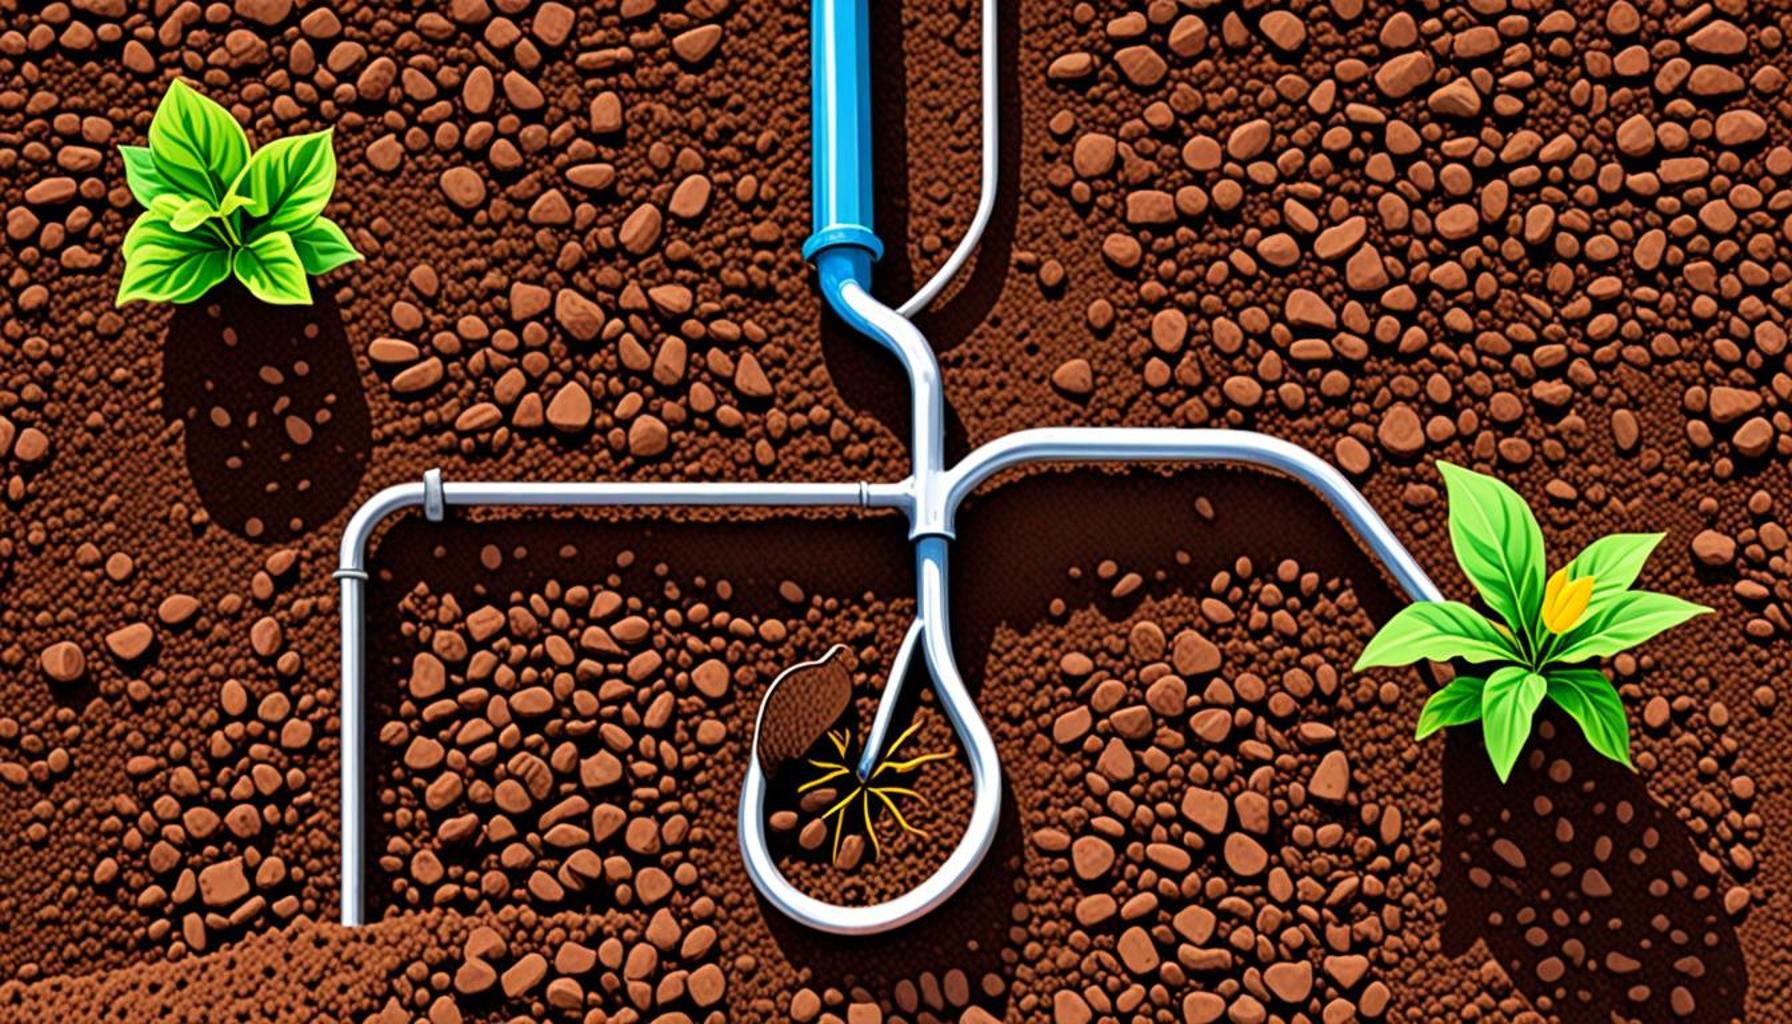
Moreover, there’s a strong environmental impact argument to be made for opting for a DIY system. Many garden enthusiasts are becoming increasingly aware of their water usage and the waste that can accumulate with conventional watering methods. With a homemade system, you can implement drip irrigation techniques that deliver water directly to the roots where it’s most needed. This targeted approach significantly reduces spillage and evaporation, saving not only water but also improving your garden’s overall health.
One of the most appealing aspects of a homemade irrigation setup is its customizability. Every garden is unique, with differing plant types that have varying water requirements. By designing your system, you can tailor it to accommodate these differences. For example, if you have a garden that features drought-resistant plants such as lavender or succulents alongside moisture-loving varieties like ferns, you can create distinct zones that cater to each plant community’s needs.
Getting Started with Your Homemade System
Before you dive into the creation of your homemade sprinkler system, it’s essential to understand the basics. Start by gathering materials such as PVC piping, connectors, a timer, and a water source. Common tools like a drill, saw, and measuring tape will come in handy during assembly.
Next, consider the layout of your garden. Measure your garden space and determine where plants are situated to create a map for your watering system. A well-planned layout ensures that water reaches every corner of your garden efficiently. Additionally, you should also acclimate yourself with controlling water flow, which can be done using shut-off valves or timers to optimize water delivery.
Finally, maintain your system to prolong its life. Regularly check for clogs and leaks, and keep an eye on the various components to ensure they function correctly. A little upkeep will go a long way in preserving your garden’s lushness and vitality.
In conclusion, with a bit of creativity and effort, the journey into DIY irrigation can lead to substantial benefits. By personalizing your setup, safeguarding the environment, and saving money, you can transform your garden into a flourishing escape. So, grab your tools and dive into the world of homemade sprinkler systems; a vibrant garden awaits!
LEARN MORE: Click here for expert irrigation tips
Essential Materials for Your Homemade Sprinkler System
Creating a feasible and functional homemade sprinkler irrigation system starts with the right materials. Understanding what is needed will not only simplify the process but also enhance the efficiency of your setup. Here’s a breakdown of essential materials you’ll need:
- PVC Pipes: These will serve as the main channels for delivering water throughout your garden. Common sizes include ½ inch to 1 inch in diameter, depending on the coverage area.
- Sprinkler Heads: Choose from stationary, oscillating, or impact sprinklers based on your garden’s specific requirements.
- Hose Connectors: These components connect various sections of the system, making it possible to customize lengths and routes.
- Valves: Installing shut-off valves enables you to control water flow effectively, especially when you want to isolate certain areas of your garden.
- A Timer: Automating watering schedules helps conserve water by ensuring it only runs during cooler parts of the day, such as early morning or late afternoon.
- Tools: A drill, saw, measuring tape, and wrenches will aid assembly and adjustments.
By gathering these materials, you lay the foundation for a successful watering system. Once you have your supplies ready, it’s time to plan the installation strategy.
Designing Your Irrigation Layout
The next step is to carefully design your irrigation layout. Taking the time to map out where your plants are located and how much water they require will ensure that your system is efficient and effective. Here are some helpful tips for designing an optimal layout:
- Assess Your Garden: Identify areas that may need more or less water. Plants with similar moisture requirements can be grouped together.
- Map the Water Flow: Plan where the main supply line will run and where each sprinkler head will be placed to maximize coverage.
- Consider Elevation: Keep in mind any slopes or changes in elevation in your garden. Higher areas may need additional pressure to achieve effective watering.
- Test the Water Pressure: Ensure that the water source can handle the number of sprinkler heads you plan to install, as this is crucial for system performance.
Planning this layout not only avoids potential oversights during installation but also helps in visualizing how water will flow throughout your garden. Engaging in this upfront planning will save time and resources, allowing you to focus on what truly matters—nurturing your vibrant plants.
In upcoming sections, we will delve into the actual installation process, covering step by step how to bring your homemade sprinkler irrigation system to life. Get ready to transform your gardening experience!
Components of a Homemade Sprinkler Irrigation System
When venturing into the world of DIY irrigation, understanding the essential components is crucial for setting up an effective homemade sprinkler system. Not only does this knowledge aid in the design process, but it also helps beginners streamline their installation efforts.
1. Water Source
The foundation of any irrigation system begins with a reliable water source. This could be a garden hose connected to a faucet, a rain barrel, or a more permanent plumbing connection. Choosing the right water source impacts water pressure , which is vital for efficient sprinkler operation.
2. Sprinkler Heads
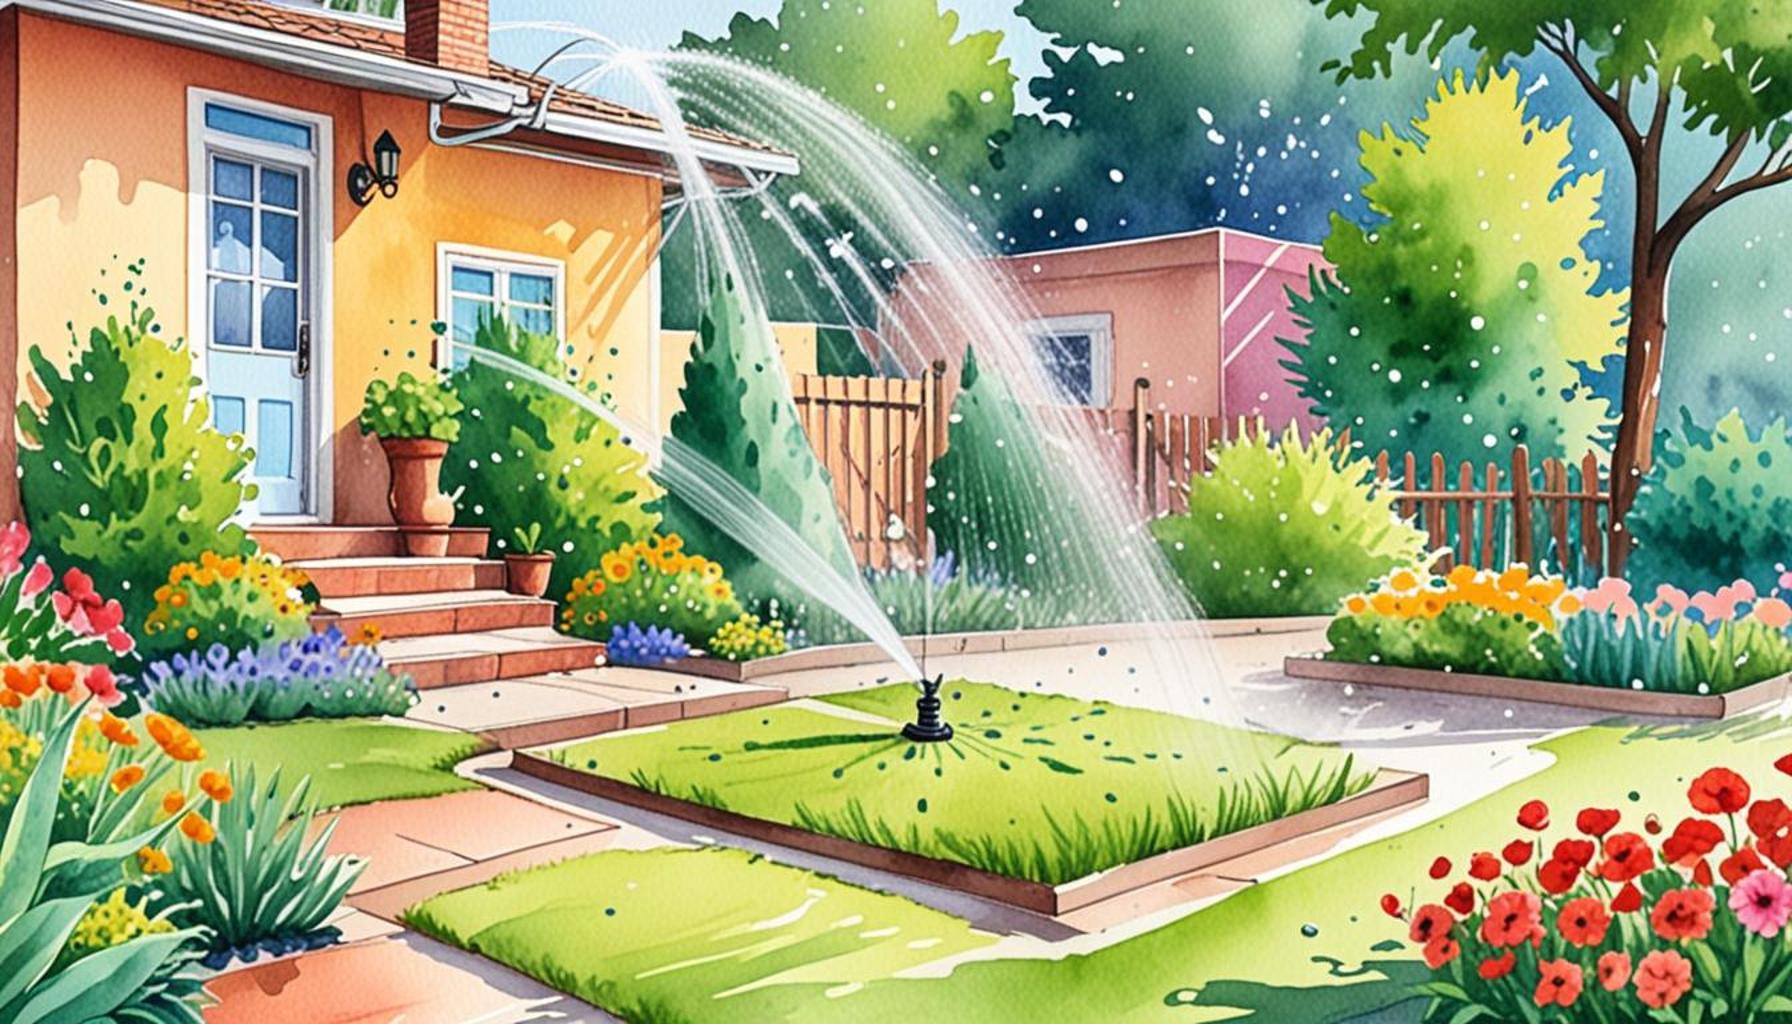
There are various types of sprinkler heads available, from stationary to rotating models. Choosing the correct type depending on your landscape can ensure proper coverage. For example, rotor sprinklers are great for larger areas, while spray heads work well for smaller spaces.
3. Hoses and Tubing
Polyethylene tubing or hoses transport water from the source to the sprinklers. Selecting the right diameter is important; a wider hose can accommodate more water flow, but may be bulkier and more expensive.
4. Timers and Controllers
To optimize watering schedules, installing a timer or smart controller can automate the process. This feature not only conserves water but also saves time, ensuring your plants receive consistent moisture. Set schedules based on plant needs, weather patterns, and soil moisture levels for maximum effectiveness.
5. Connectors and Fittings
Connectors and fittings are necessary for securely linking hoses and tubing. Using high-quality materials strengthens the system and reduces the risk of leaks. Look for options made from durable plastic or brass for longevity.
Why Go Homemade?
Building your own sprinkler system allows for customization tailored to your specific garden layout and plant types. Plus, it can be more cost-effective than purchasing pre-fabricated systems. With careful planning and the right materials, beginners can create a system that efficiently delivers water where it’s most needed, fostering healthy plant growth. Now that you understand what components are needed, the next step is to learn how to assemble and install your homemade sprinkler irrigation system effectively.
| Category | Advantages |
|---|---|
| Customization | Allows specific design based on garden layout. |
| Cost-effective | Generally less expensive than commercial systems. |
DISCOVER MORE: Click here
Installation Steps for Your Homemade Sprinkler System
Once you have meticulously designed your irrigation layout and gathered all the essential materials, the next phase is installation. This practical step is where your planning comes to fruition. Here’s a straightforward guide to installing your homemade sprinkler irrigation system:
1. Prepare Your Garden Area
Before you commence the installation, it’s crucial to clear the intended area. Begin by removing any debris, rocks, or weeds that may obstruct the pipes or sprinkler heads. This not only makes the installation easier but also prevents potential damage to your system later on.
2. Cut and Assemble PVC Pipes
Using a saw, cut the PVC pipes according to your planned measurements. Connect these pipes with the hose connectors to form the main water supply line and branches leading to the individual sprinkler heads. Remember to use PVC cement for a secure seal on each connection to avoid leaks.
3. Strategically Place Sprinkler Heads
As you assemble the system, ensure that the sprinkler heads are placed in locations that maximize coverage while minimizing overlap. For larger gardens, consider using the triangular arrangement for sprinkler placement, which increases water distribution efficiency. Secure the heads in place, making sure they are slightly above the ground level to prevent clogging from soil or debris.
4. Install Valves and Timers
Install the shut-off valves in accessible spots along the main line to facilitate easy control over the water flow. Depending on your setup, you might also want to place them at specific zones so that you can selectively irrigate certain areas. Next, integrate a timer to automate your watering schedule. Program the timer based on your plants’ needs, seasonal changes, and local water restrictions, ensuring your garden receives adequate hydration without waste.
5. Connect to Your Water Source
After assembling and placing all the parts, it’s time to connect your homemade sprinkler system to the water supply. Use a reliable hose connector to attach the main supply line to the faucet or garden hose. Make sure that all connections are tight and leak-free.
6. Test and Adjust
Before calling it a day, conduct a thorough test of your system. Turn on the water and inspect each sprinkler head for proper operation. Check how evenly water is being distributed across your garden and look for any leaks or weak pressure areas. Adjust the direction and flow of the sprinkler heads as needed to ensure even coverage. It may require shifting the heads slightly or adjusting the water pressure to fit your garden’s unique needs.
With these steps complete, you’ll have a functional homemade sprinkler irrigation system in place, providing your garden with essential moisture. As you gain confidence with your setup, you can explore additional modifications, such as drip lines for targeted watering or expanding the system to include more areas of your yard. Every garden is different, and fine-tuning your system is part of the rewarding gardening journey!
DISCOVER MORE: Click here to learn about crop rotation
Conclusion
Establishing a homemade sprinkler irrigation system is not just an enjoyable DIY project; it is an essential investment in the health and beauty of your garden. By following the detailed steps outlined in this article, you can effectively deliver water to your plants in a manner that is efficient and tailored to their unique needs. Not only does this system save time and labor, but it also conserves precious water resources—an increasingly vital consideration in today’s environment.
As you embark on this journey, remember that the key to success lies in understanding your garden’s specific requirements. Factors such as plant types, soil conditions, and local climate will all influence your irrigation choices. Don’t hesitate to experiment! Over time, you may find yourself wanting to incorporate advanced elements such as drip irrigation for deeper root systems, or even sensors to monitor moisture levels to further increase your system’s efficiency.
Ultimately, each garden tells a story, and your homemade sprinkler system will add a vital chapter to yours. Not only will it help sustain your plants through timely watering, but it will also provide you with the satisfaction of knowing you designed and built it yourself. So roll up your sleeves, embrace the learning curve, and transform your outdoor space into a thriving oasis—all with the help of your homemade sprinkler irrigation system!